

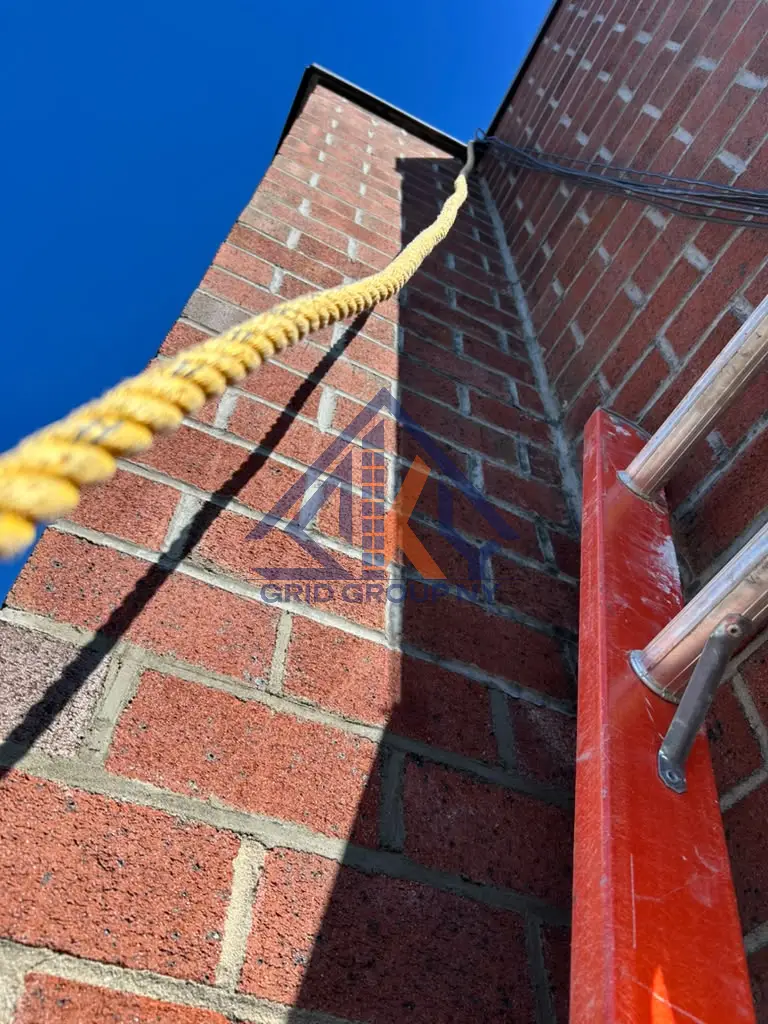
At 46-11 88th Street in Elmhurst, our crew at Sky Grid Group NY repointed deteriorated mortar joints on a seven-story brick apartment building with storefronts at street level. We cut out the failing mortar, prepared each joint, and packed in fresh Type N mortar, a portland cement and lime mix, without replacing any of the building's existing brick.
Here's what we found, why we chose the mortar we did, and what owners of mid-rise brick buildings in Queens should know before scheduling pointing work.
Project Highlights
| Detail | Info |
|---|---|
| Project | Brick pointing and mortar joint restoration |
| Location | 46-11 88th Street, Elmhurst, Queens, NY 11373 |
| Building | Seven-story elevator apartment building, built 1988, with 28 residential and 4 commercial units |
| Contractor | Sky Grid Group NY |
| Primary concern | Cracked, recessed, and loose mortar joints in the exterior brickwork |
| Mortar used | Type N mortar (1 part portland cement, 1 part hydrated lime, 6 parts sand by volume) |
| Scope | Removal of deteriorated mortar, joint preparation, Type N mortar installation, joint tooling, and cleanup |
| Approach | Repair the joints and keep every serviceable brick in place |
| Permits | NYC DOB lists brick repointing as work that doesn't require a permit; access equipment and public protection still follow DOB rules |
What We Found on This Elmhurst Facade
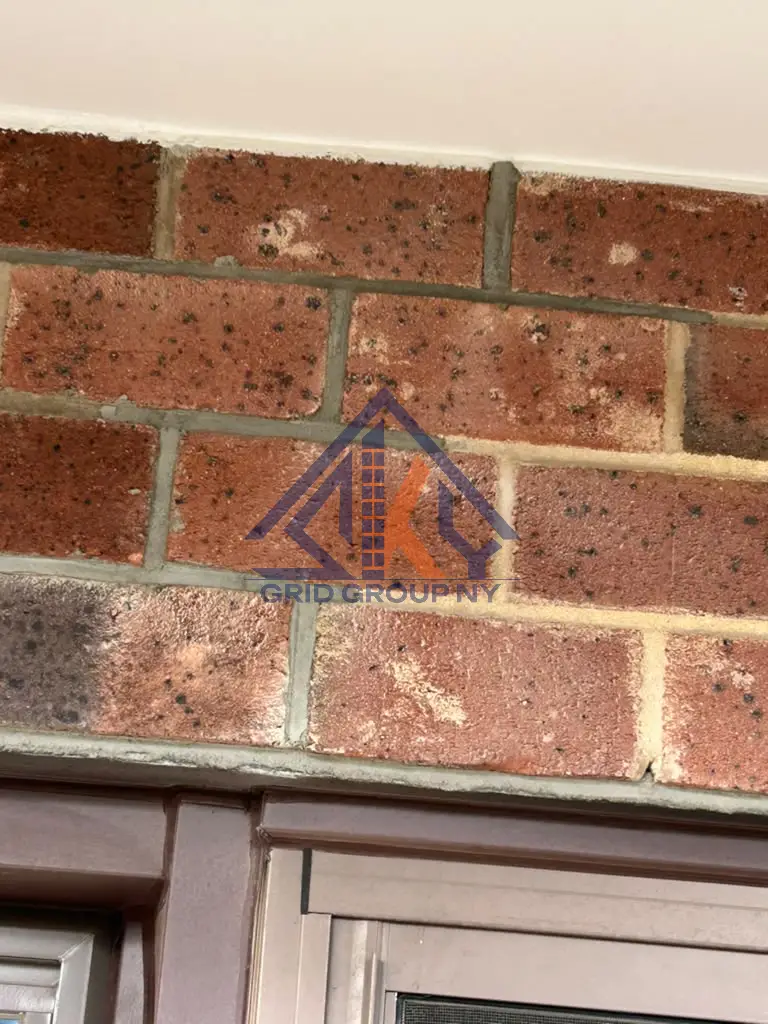
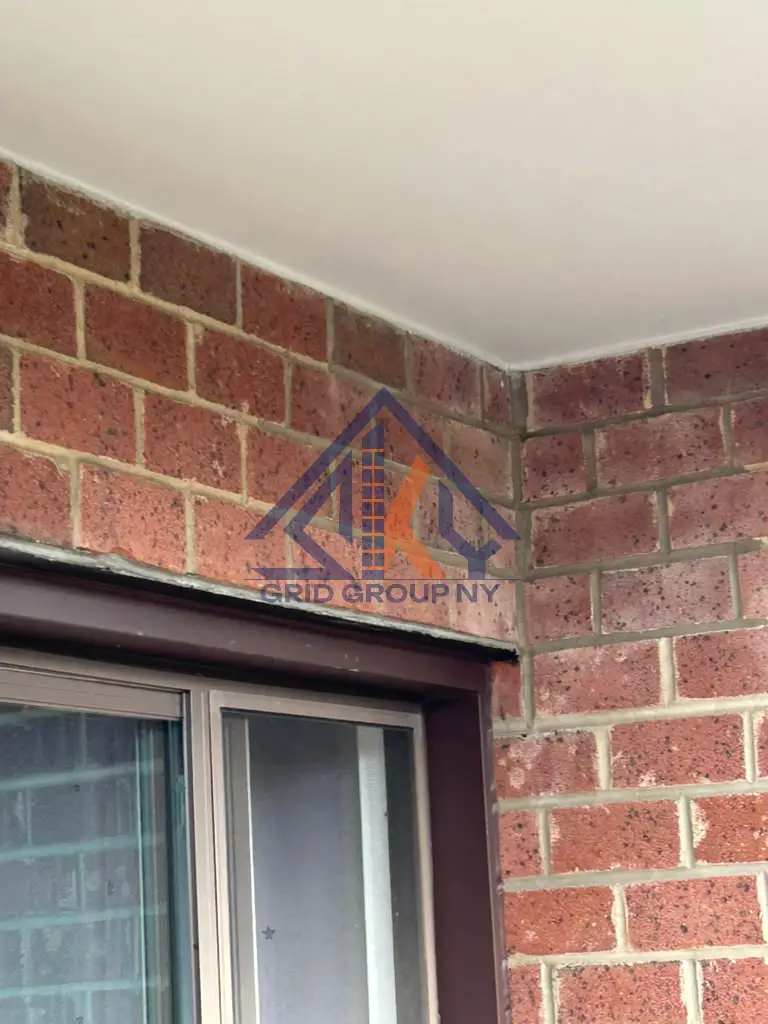
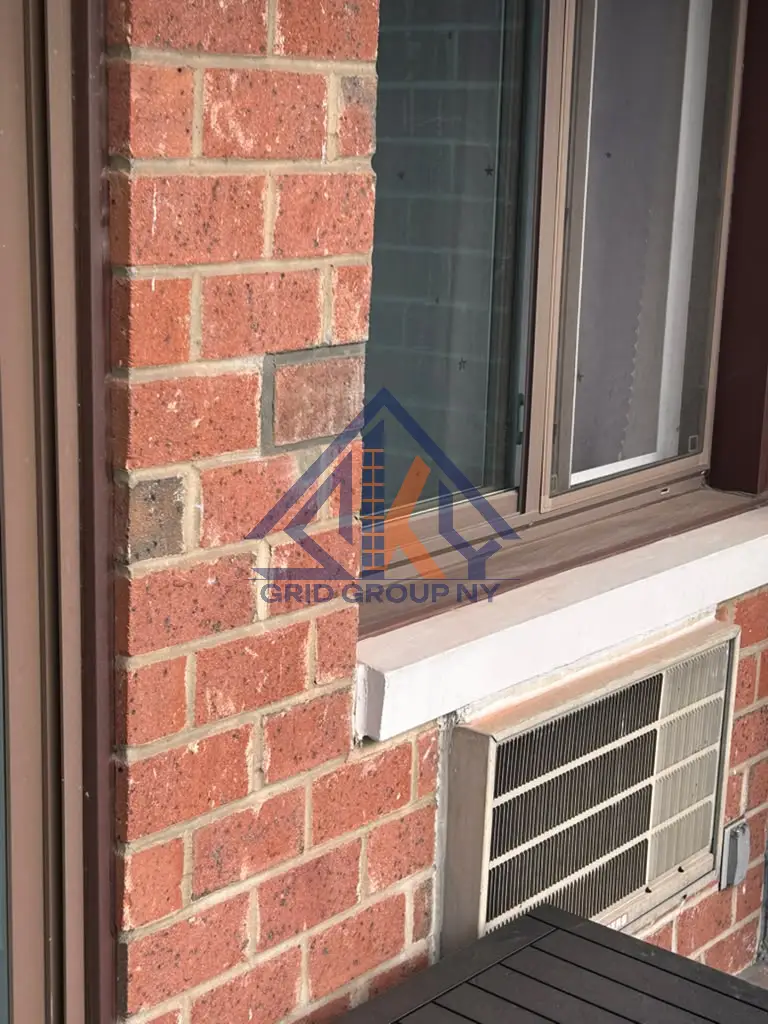
When we walked the building, the problem was clear: the bricks were in serviceable shape, but the mortar holding them together wasn't. Sections of the joints had cracked, others had worn back from the brick face, and some had loosened enough to crumble when touched.
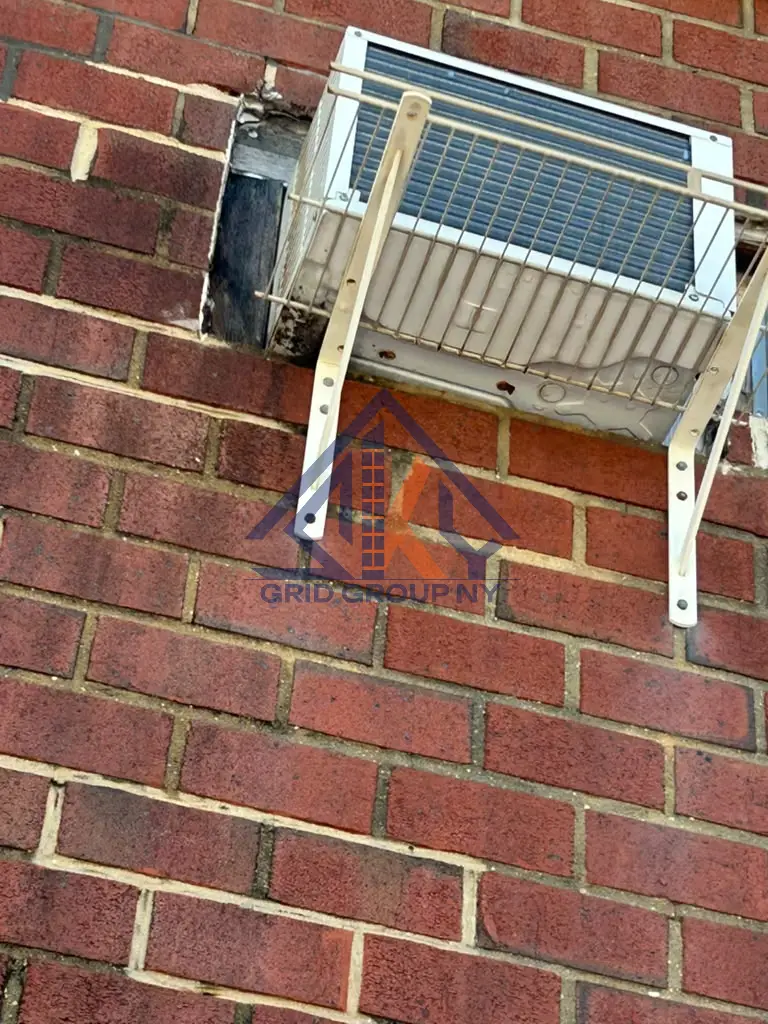
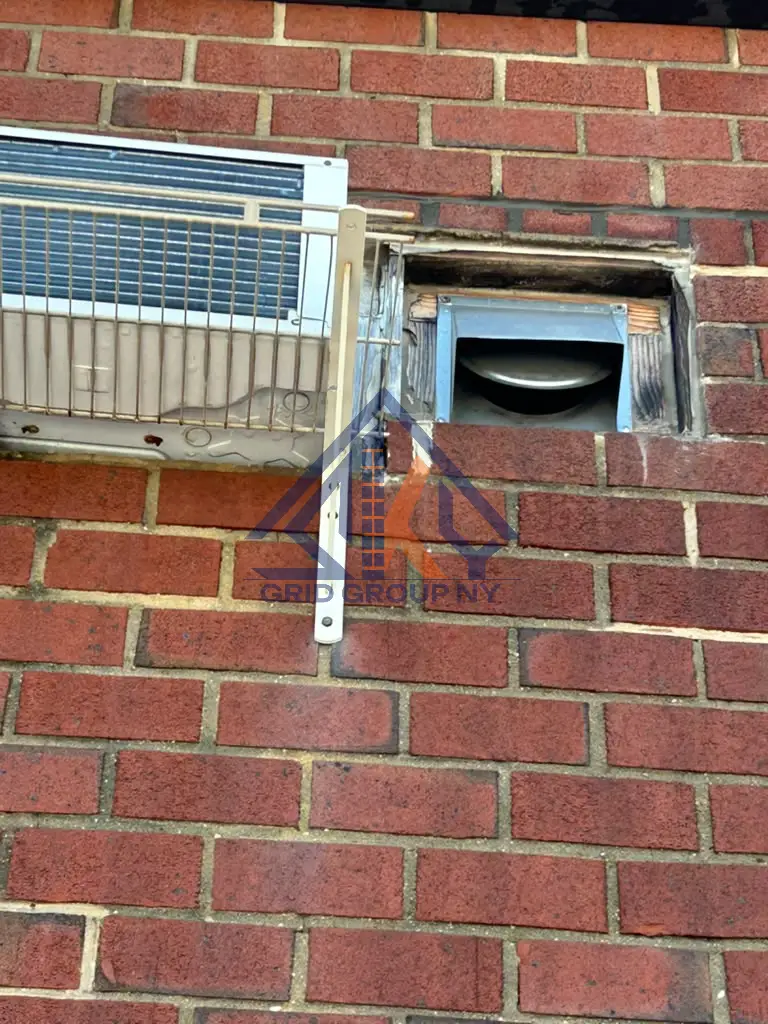
That pattern is common across Queens. A building like this one faces decades of rain, summer heat, and winter freeze-thaw cycles, and mortar takes most of that punishment. Once a joint opens up, water gets into the wall more easily, and each freeze widens the gap a little more.
The mixed-use layout added a practical layer. With storefronts at street level and residents coming and going all day, our work plan had to keep the sidewalk safe and the businesses open while we worked overhead.
Why Repointing Instead of Rebuilding
Because the brick itself was sound, tearing out and relaying masonry would have meant spending money on materials that didn't need replacing. Repointing targets the actual failure: the mortar.
It's also different from smearing new mortar over old joints. A thin skim over deteriorated material doesn't bond well and tends to pop loose within a few seasons. Real repointing means removing the bad mortar to a proper depth and rebuilding the joint from the inside out.
The Mortar We Used and Why: Type N
Mortar choice is the decision that makes or breaks a pointing job, so we don't treat it as an afterthought.
For this building, we used Type N mortar, mixed at 1 part portland cement, 1 part hydrated lime, and 6 parts sand by volume. The Brick Industry Association's repointing guidance lists Type N, Type O, and Type K as the typical repointing mortars, with proportions governed by ASTM C270. The BIA's guide specification for mortar names Type N as the standard repointing mortar unless the original mortar's mix is known and has proven durable.
The reason we avoided anything stronger comes down to how brick walls move. The BIA advises that repointing mortar should be similar to or weaker than the original mortar. A mortar that's too hard won't flex with the surrounding masonry, so stress concentrates at the edges of the brick and can cause the brick face to spall. On a 1988 building, a cement-lime Type N mix gives the joints enough strength to stand up to Queens weather while staying compatible with the existing wall.
How Our Crew Repointed 46-11 88th Street
1. Mapping the failing joints
We started by marking which joints needed work and which were still sound. On a seven-story facade, that step keeps the scope honest. We repoint what's failing instead of grinding out joints that still have years of life left.
2. Cutting out the old mortar
Next, we removed the deteriorated mortar. The BIA recommends removing mortar to a depth equal to or greater than twice the joint's thickness, so a standard 3/8-inch joint gets cleared at least 3/4 inch deep. We worked carefully at the brick edges, since chipped corners turn a pointing job into a brick replacement job.
3. Cleaning and preparing the joints
With the old mortar out, we cleared dust and loose material from every joint. Fresh mortar only bonds well to a clean, properly prepared surface.
4. Prehydrating and packing the Type N mortar
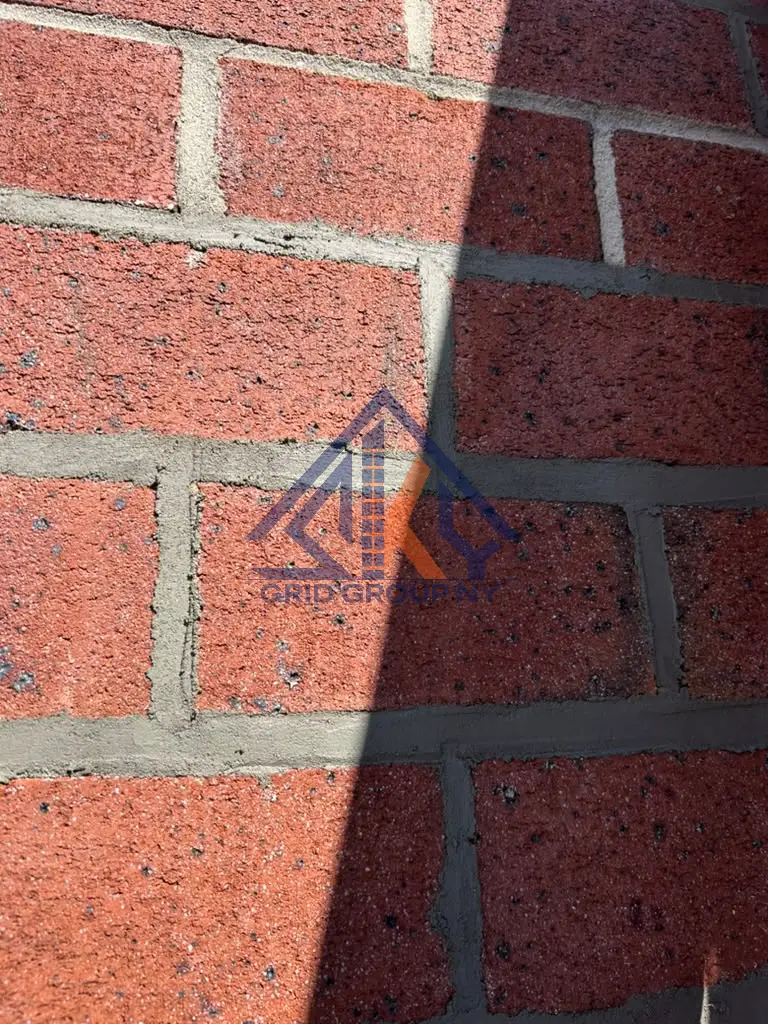
We prehydrated the Type N mortar before use, which the BIA calls a very important step for reducing shrinkage. The guide specification describes mixing it first as a damp, stiff mix, letting it rest for 1 to 2 hours, and then adding water to working consistency. We packed the mortar into the joints in layers and compacted each one, which helps the new mortar bond and fill the joint completely.
5. Tooling the joints to match
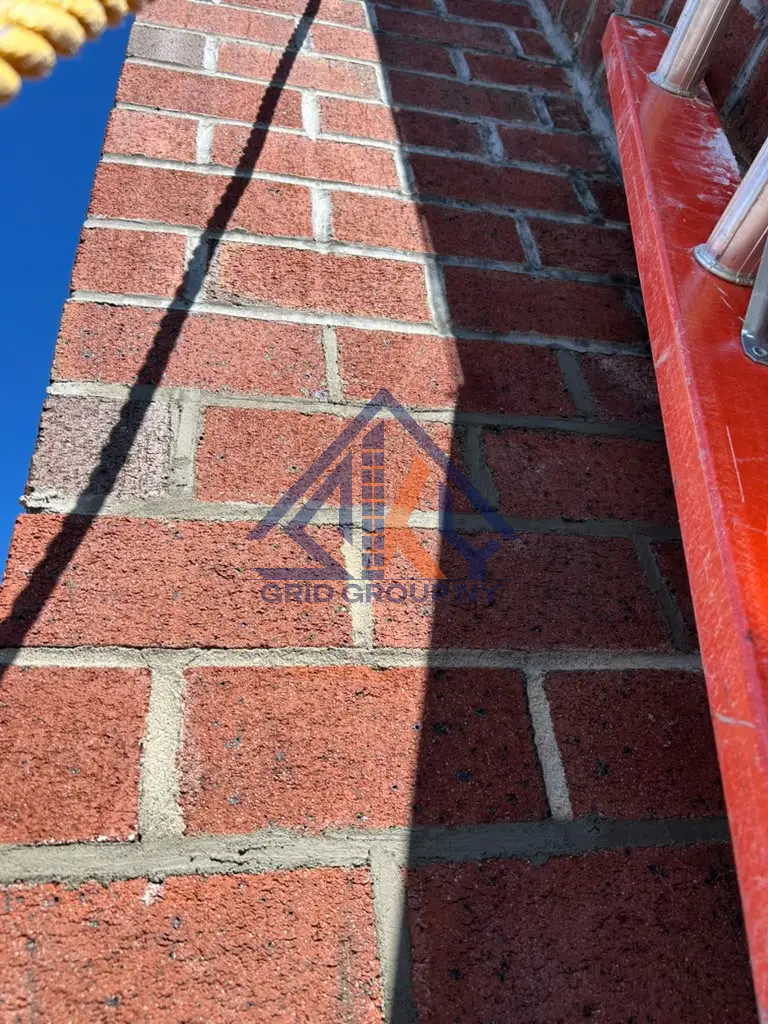
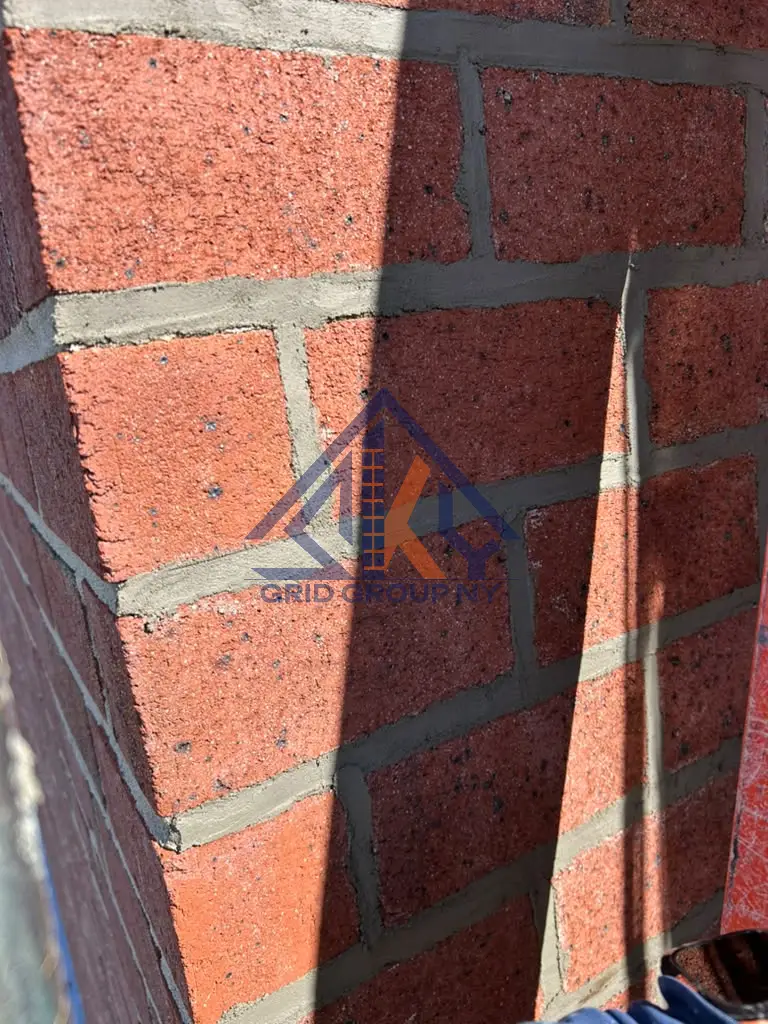
Once the mortar firmed up, we tooled each joint to compact the surface and match the profile of the surrounding brickwork. Good tooling sheds water better, and it keeps the repaired sections from looking like patches on the facade.
6. Final walkthrough and cleanup
We finished by reviewing the repointed areas, cleaning mortar residue off the brick, and clearing the work zone so the storefronts and building entrance were back to normal.
What Owners of Mid-Rise Brick Buildings in Queens Should Know
Repointing doesn't need a DOB permit, but access might. The NYC Department of Buildings lists brick repointing among the facade work that doesn't require a permit in any building. On a taller building, the scaffolding, hoisting equipment, or sidewalk protection needed to reach the wall can carry its own requirements, so confirm those before work starts.
Buildings over six stories fall under FISP. Under the Facade Inspection & Safety Program, also known as Local Law 11, buildings higher than six stories need a facade inspection by a Qualified Exterior Wall Inspector every five years. Deteriorated mortar is a common finding in those reports. Conditions classified as "Safe with a Repair and Maintenance Program" (SWARMP) must be repaired by the date the inspector sets, and the same condition can't be reported as SWARMP in two consecutive cycles. Addressing failing joints early keeps them from being reclassified as unsafe, which triggers public protection and a 90-day repair deadline.
Mortar that's too hard causes more damage. If a contractor suggests the strongest mortar available "so it lasts," ask why. Compatibility with the existing wall matters more than raw strength.
Weather affects the result. Fresh mortar needs reasonable temperatures and protection from fast drying in direct sun and wind. Scheduling pointing work in Queens around the coldest and hottest stretches of the year helps the repair cure properly.
Small problems spread. A few open joints become a wall section over a few winters. Checking the facade every few years, especially on the weather-facing sides, catches deterioration while it's still a pointing job.
The Result at 46-11 88th Street
The deteriorated joints on the building now hold fresh, properly tooled Type N mortar, and the existing brick stayed in place. The repaired sections blend with the surrounding wall, and the open joints that let water into the masonry are closed. For the owner, that means a tighter facade heading into another Queens winter, without the cost of replacing brick that didn't need it.
Need Brick Pointing in Elmhurst or Anywhere in Queens?
If your building's mortar is cracking, crumbling, or pulling back from the brick, or your FISP report flagged deteriorated joints, Sky Grid Group NY can assess the facade and recommend the right mortar for your wall. We handle brick pointing for apartment buildings, mixed-use properties, and homes across Elmhurst, Jackson Heights, Corona, Woodside, Rego Park, and the rest of Queens.
Contact Sky Grid Group NY to schedule a facade assessment and get an estimate for your brick pointing project.